Saturday, 5 August 2017

How to Make Shami Kebeb at Home.

It's a snack time. I haven't shared any good recipe since a quiet long time. As a matter of fact I'm not much into cooking but I do cook sometimes and it's good. I promise you that.
The recipe I'm sharing with you today is Shami Kebabs. It's a must have delicacy in Indo-Pak cuisine and for all the meat lovers around the world. 
It's suits well for both, who likes spicy and who prefer little less spices.


You will need.


  • Minced Mutton- 250 grams
  • Channa dal- 1 table spoon
  • Cooking Oil/ Ghee
  • Caraway seeds(jeera)- half tea spoon.
  • Deep fried onions- 3 table spoons
  • Garlic Chopped 2 cloves
  • Coriander leaves- Half cup.
  • Egg- 1
  • Salt to taste.
  • Ginger Chopped- 1 teaspoon.
  • Red Chillies.

Method.


  • Prepare the Channa Dal (split in half) by soaking it in water for about 2 hours.
  • Mince the meat in a mixer/grinder. 
  • Heat 2 tablespoons on cooking oil/ Ghee in a non-stick pan. Add Caraway seeds, Ginger, Garlic, Chillies, Minced Meat and drained Channa Dal. Mix well and saute for 2 minutes.
  • Add salt. Mix well and cook till all the moisture is dried up.
  • Add coriander leaves and Fried onions. Put the mixture in the mixer grinder once again and make a fine paste. 

  • Take out the mixture and make flat kebabs. 

  • Break the egg in the bowl and whisk it well.
  • Dip each kebab in the egg and shallow fry , turning the sides once.


  • Serve hot with green chutney.


Sunday, 30 July 2017

Different Ways of Making a Tassel.

You may get hundreds of videos and tutorials on making the tassel thing and here is how I make them. I mostly use tassels made of silk thread and tassels made of faux leather to use in my craft projects. In this post I will show you both with the projects I used them into.

The First one is the easier one: the faux leather tassel.


  • Take a rectangular piece of leather material you want to turn into the tassel. The height of which will determine the height of the tassel and width will determine the thickness.

  • Mark a line some 2 cm's away from one of the sides of the rectangle. Take a pair of scissor and start cutting out thin stripes till the marked line. Do this for the entire width of the fabric. 


  • Try to cut stripes of same width or otherwise your tassel will look ill made.

  • Cut out a thin stripe of the same material to use as a loop. Fold it into half and fix it to the one end of the fabric as in picture.


  • Start rolling the fabric tightly gluing at intervals and fixing tightly at the end. 


  • Here is your tassel made. 

I used one such tassel to accessorize my handmade bag and it looks damn hot. Isn't it?


Now over to the second one: It is a Silk thread tassel.


You can use any kind of thread to make this one, even yarn.


  • Wrap the thread over some solid piece of plastic, cardboard or wood. the width of which will determine the size of the tassel. I used an old phone that I don't use now.


  • Wrap the thread many times to the thickness you are satisfied with. I wrapped it some 80 times.

  • Tie the one end of the wrapped thread by inserting a piece of thread in the end or by putting a piece of thread in place before you start wrapping the thread.

  • Pull the wrapped thread from the phone and fasten at one end as in picture.

  • I secured the end with the hot glue.

  • Trim the other end with a sharp ended scissor.


  • That's your cute tassel made.
I used such tassels in my Jewelry project.

My very own tassel earrings.


I hope you enjoyed reading my blogpost. Keep sharing. 


Saturday, 22 July 2017

How To Make a Palazzo from an old Duppatta/Saree

Anyone can do this. This is no rocket science. So, have you paid the boutiques and tailors to make you a palazzo and waited many days before you could have them? Have you bought a fancy palazzo from the market or online only to find that it is way too big for you? Worry no more! Today i'm going to tell you a recipe to make a palazzo all by yourself and that too in 30 minutes only.  You don't need to be a tailor master for this. Anyone who knows how to use a scissor and a sewing machine can do this. Yes.

Note: Even if you don't have a sewing machine or don't know how to use it. You can use tapestry needle and a thread to sew by hand. It will take a little longer to finish though. :)

Materials:


Old dupatta or saree.
Scissor.
Sewing Machine/ Tapestry needle and thread.
A palazzo for measurement.

Steps.


1. Fold the dupatta into half. Fold it again so that you will have 4 layers of fabric. One end will have two open edges of dupatta and one folded end. The other end will have one single folded end only.

Place the measurement on the dupatta. Put the back of palazzo from the open sides of the dupatta. Mark and use scissor to cut as shown in the picture.


I have cut it close to the line because i want my palazzo to be a bit tighter than the measurement. If you want to make it of the same width cut 1 inch from the marked line.

If you are using a saree, cut out 2 meters or 200 centimeters from it before making a palazzo.


2. Now open the cut out fabric and stitch the ends as marked in picture below.

Sew along the dotted lines.


3. Bring the stitches in the center. Can you see the shape of palazzo coming? We will now stitch the legs thus formed. Refer to picture.

I have marked the picture to guide you to sew the legs.

4. I'm not hemming it from the bottom as the dupatta had the lacy border already made and I preferred to keep that but I still had to do the belt of the palazzo.


In this picture you can see that i have already stitched the palazzo and its almost made.


5. To make a belt fold the top of the palazzo to about 1 cm and sew all along.


Now fold it again to almost 1.5 to 2 inches and sew at the edge leaving a small gap of 2-3 inches for the elastic to go through.


6. Measure the elastic around your waist and pull through the belt of your palazzo. Join. Sew the gap in the belt you kept for the elastic to go through.


Sew the left out gap after inserting and joining the elastic.


7. Iron the creases of your palazzo.

And you are done.


*********************************************************************************
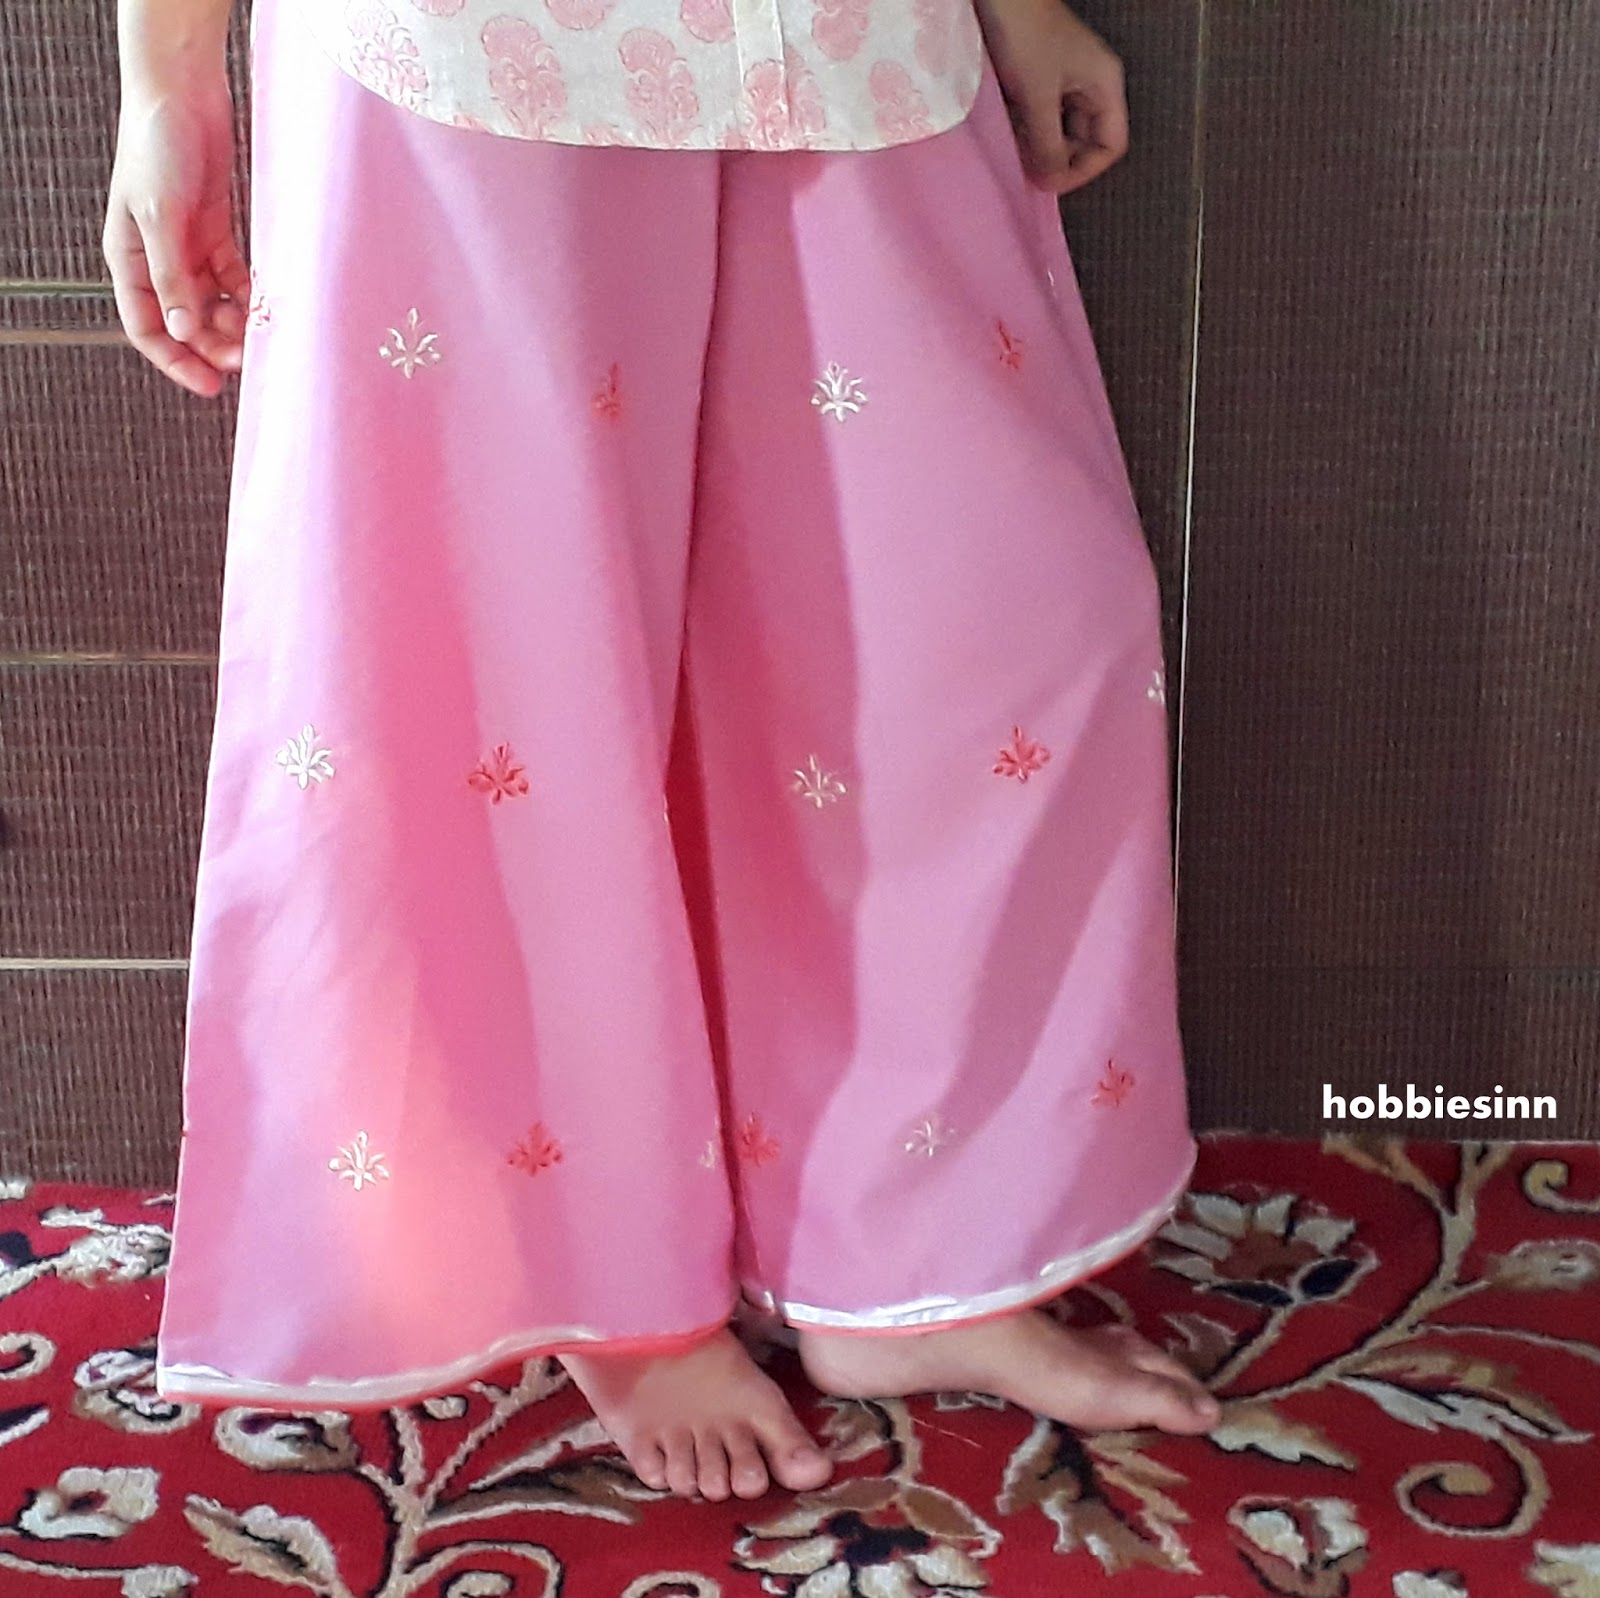
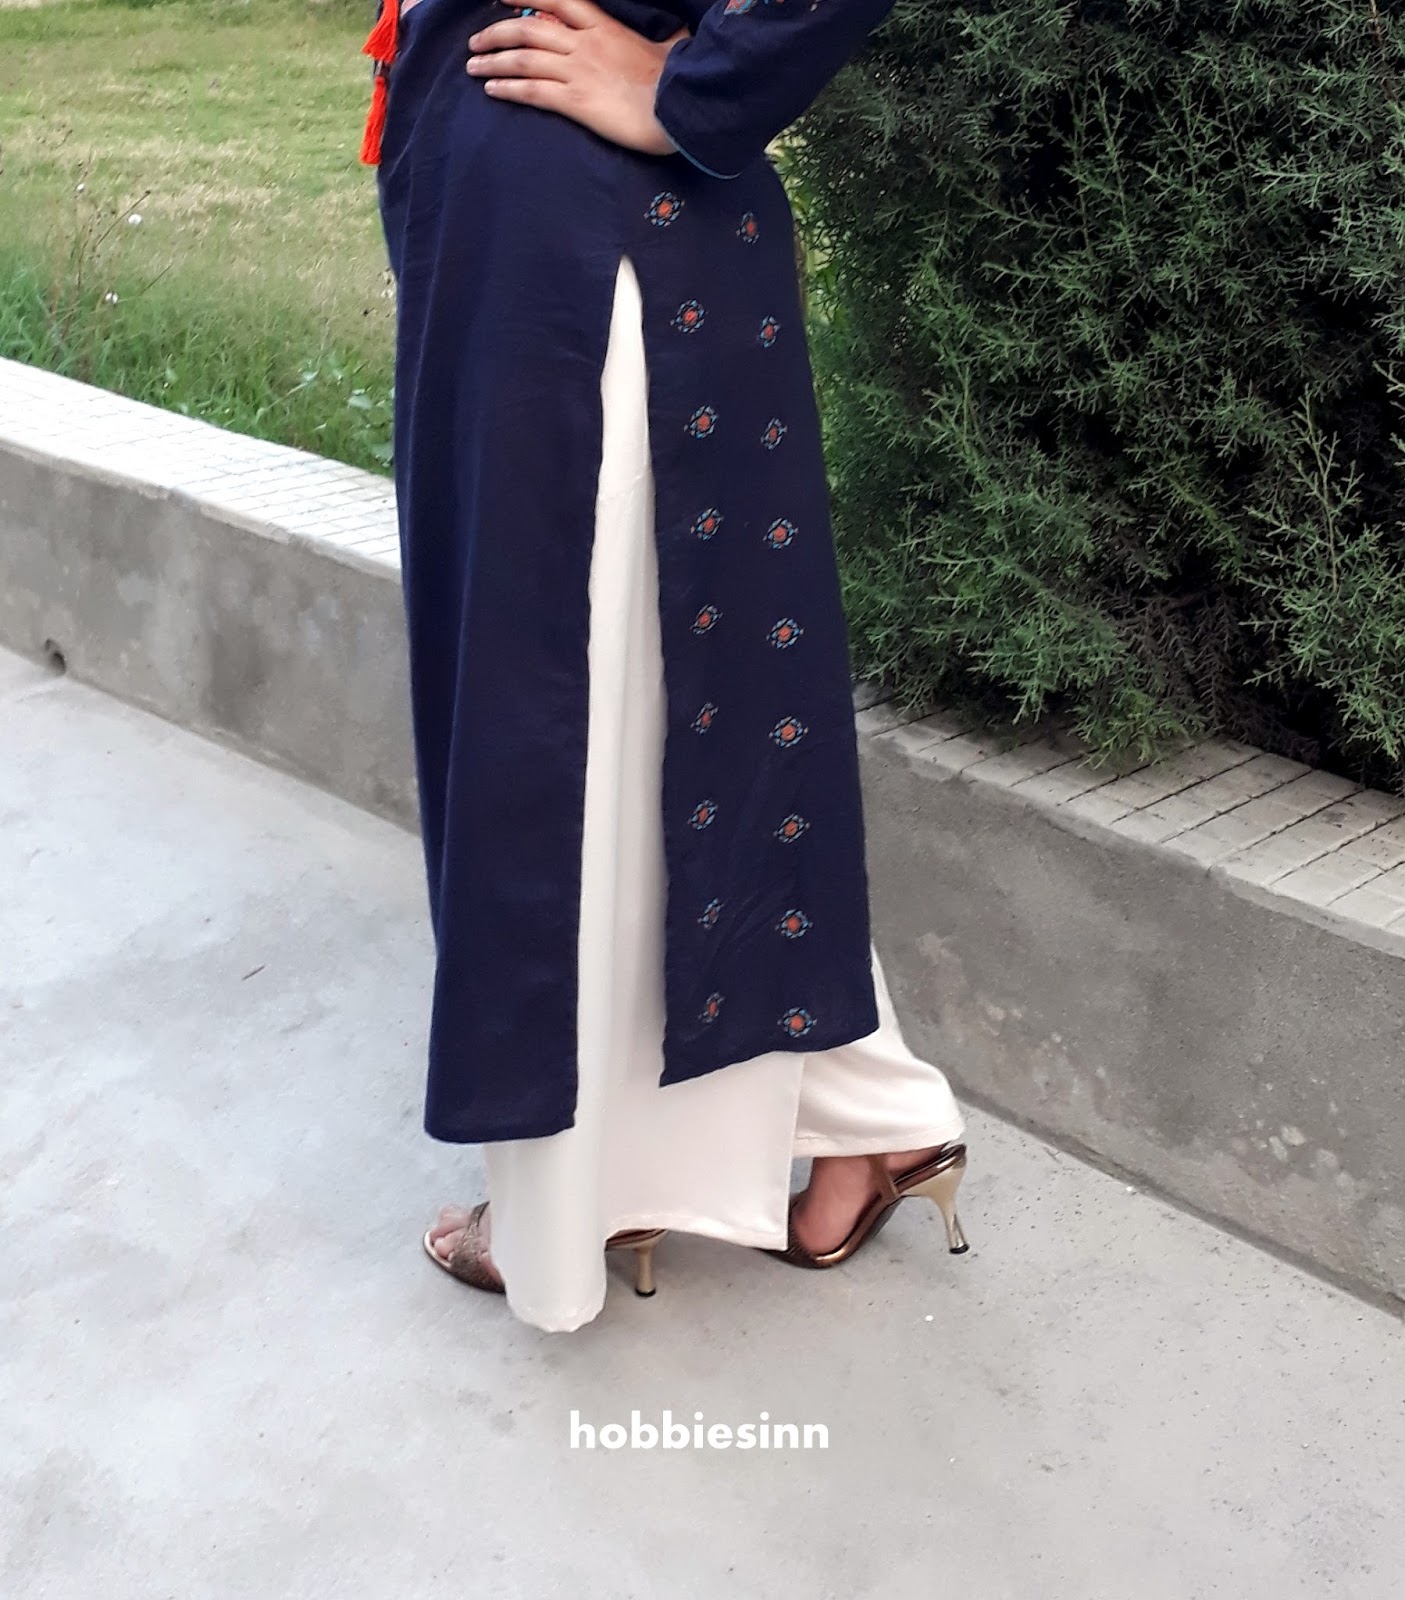
I have made three of these and you can see how perfect they look. I have styled them differently and wore them on different occasions. Do tell me what you think about this tutorial. It's a very handy and easy to follow. If you have some spare fabric or duppatta or an old saree lying around go and turn it into a flirty palazzo. Just 30 minutes of your time. Nothing else.