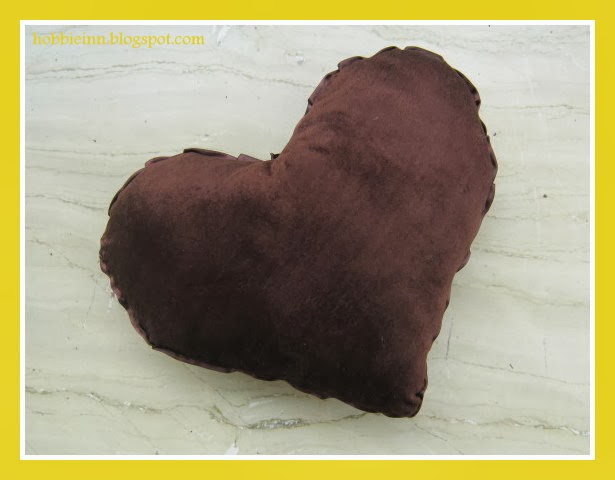
This is the tutorial to show you how you can make your own Heart Cushions.
Materials:
Velvety fabric(Half meter for 1 cushion) :Being velvety adds luster and soft touch to the Cushion. I choose Chocolate and cream colors.
Satin Ribbon(1.5 mtrs for 1 cushion) : I choose same colors as the fabric.
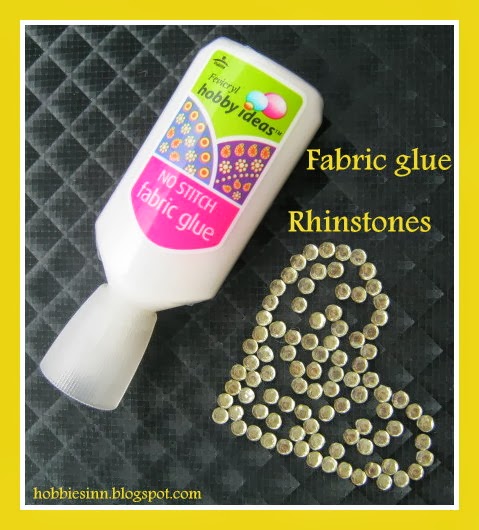
Rhinestones.
Fabric Glue.
Scissors.
Measuring tape.
Soft Cushion stuffing.
Tapestry needle.
Thread.
And a bit of patience.
How To:
Now let us see how to make these lovely cushions.
Step 1:
First of all fold the fabric in the middle.
Now make an outline of heart shape over it probably with a chalk. The measurements can be seen in the picture below. Don't cut the fabric over the chalk outline but after almost leaving half inch more. The outline will be used to stitch over and extra fabric will come inside!
step 2:
With this done you will have two sides of the heart.
pick one of the sides and start outlining it with the ribbon.
Ribbon is attached from the right side.
You can either Fold ribbon or use it full.
Near the curves fold ribbon a bit and continue to stitch.(ref pic below)
I know this part is a bit tricky.

Step 3:
Place this on other side of the heart with both right faces of fabric facing each other and wrong faces outwards and stitch them together.
You can take the first stitch(to join the ribbon) as the guide for your second stitch(joining the sides).
Leave a space or opening of about 10-15 cms to turn it inside out.
Step 4:
Turn it inside out and start stuffing it.
You will see the heart shape becoming prominent.
When you are done with stuffings close the opening with the help of your tapestry needle and thread.
Small stitches are recommended so that they wont show.
when done you will have a cushion like this:
Step 5:
You are almost done. Now it is time to paste some rhinestones over it.
Fabric glue is fabric friendly adhesive used to paste any sort of applique to the fabric.
It is must have tool in your fabric crafts.
How to use this glue: Put a thin layer of fabric glue over the applique and then put the applique over the fabric.
Press for 10 seconds and then release.
Wait for 24 hrs before you actually use your fabric.
So I kept ,y cushions for 24 hr before i used them in my bedroom to complement my chocolate and cream color bedding!
They look phenomenal.
_______________________________________________________________________
Thankyou for stopping by.
:)